Fire Safety-NBSM Week 1


week-1By Monica Brown, Tulalip News Writer
Tulalip, WA – May is National Building Safety Month (NBSM) as proclaimed by President Barack Obama in 2013, as a way to “encourage citizens, government agencies, businesses, nonprofits, and other interested groups to join in activities that raise awareness about building safety.”  For NBSM, the month of May is broken down into four weeks and the focus put on a new subject for each week, fire safety, disaster safety, backyard safety and green and sustainable building.

The Tulalip Tribes Community Development department is participating in NBSM and would like to make Tulalip residents aware of the hazards in and around the home as well as tips for prevention and safety. Community Development is providing pamphlet information that can be picked up at the Tulalip administration building for the entire month of May, see below for contact information.

The first week of NBSM is designated for fire safety in and around the home, Keeping Fire in its Place. According to the U.S. Fire Administration, each year throughout the U.S., 17,500 people are injured in fires and over 3,400 Americans perish in fires with about 1/3 of those victims being Senior citizens. A few things to consider during fire safety week are to check your smoke alarms, establish an evacuation plan, and purchase a fire extinguisher. It’s also a good time teaching children about fire safety. Annually, children of all ages set over 35,000 fires (U.S. Fire Administration statistic).
Fire Extinguisher information: There are multiple types of extinguishers used for specific flammable materials and what works for one may not work for another. In case of a fire, please do not rely solely on a extinguishing it yourself; call the fire department as soon as you notice the fire and make sure you can get to safety before trying to extinguish it on your own.

·         Class A extinguishers put out fires in ordinary combustible materials such as cloth, wood, rubber, paper, and many plastics.

·         Class B extinguishers are used on fires involving flammable liquids, such as grease, gasoline, oil, and oil-based paints.

·         Class C extinguishers are suitable for use on fires involving appliances, tools, or other equipment that is electrically energized or plugged in.

·         Class D extinguishers are designed for use on flammable metals and are often specific for the type of metal in question. These are typically found only in factories working with these metals.

·         Class K fire extinguishers are intended for use on fires that involve vegetable oils, animal oils, or fats in cooking appliances. These extinguishers are generally found in commercial kitchens, such as those found in restaurants, cafeterias, and caterers. Class K extinguishers are now finding their way into the residential market for use in the kitchen.

·         Multi-purpose fire extinguishers are also made that combine uses such as class “B-C” or “A-B-C” and can be used on two or more of the above type fires.

Some fire districts in Snohomish County offer free smoke alarm installations and fire extinguisher training. Please contact your fire district to schedule a home smoke alarm installation or fire extinguisher training.

Nearby local fire departments:

Tulalip Bay Fire Department Snohomish Co. Fire District 15, 7812 Water Works Rd Tulalip, WA 98271-9631, 360-659-2416

Marysville Fire District, 1094 Cedar Avenue Marysville, WA 98270, 360-363-8500

For pamphlet information about NBSM contact, Orlando Raez, Tulalip Tribes Community Development, 360-716-4214.


10 Important tips to remember for fire safety and awareness

Put a smoke alarm on every level of your home and outside each sleeping area. Put a smoke alarm inside every bedroom.

Make sure your smoke alarms work. Test your smoke alarms. Push the test button. You will hear a loud noise. If you don’t hear the noise, you need a new battery or a new alarm.

Make sure the smoke alarm always has a good battery. Put a new battery in the alarm every year.

Smoke alarms with long-life batteries will work for up to 10 years. You do not change the battery.

Smoke alarms do not last forever. Get new smoke alarms every 10 years.

Tell your family what to do if they hear the smoke alarm. Make an escape plan so everyone knows how to get out fast. Pick a meeting place outside the home where everyone will meet. Some children and older adults cannot hear the smoke alarm when they are sleeping. Make a plan for how to wake them up. Practice your escape plan with everyone in your family two times each year.

Install home fire sprinklers in your home. Home fire sprinklers and working smoke alarms greatly increase your chance of surviving a fire. Sprinklers are affordable and they can increase your property value and lower your insurance rates.

Portable heaters need their space. Keep anything that can burn at least three feet away.

If you live in an area where homes are located in or close to forests or vegetation areas, you should think about the following safety tips.

Install 1/8 inch or smaller mesh screening that cannot burn on attic/soffit vents and around wood decks to keep out embers. Install spark arrestors on fire place chimneys or wood stove vents.

Keep all items that can burn away from your home. Clean leaves from your gutters. Clear dead leaves and branches from shrubs and trees.

5 Easy Steps: How to Start a Community Garden

Cheyenne River Youth Project (LakotaYouth.org)Guided by traditional and spiritual principles, the Cheyenne River Youth Project® has incorporated the traditional Lakota values of generosity, spirituality, wisdom, respect, courage, honesty and patience into the development of its 2-acre, naturally grown, pesticide-free Winyan Toka Win (“Leading Lady” in the Lakota language) garden.
Cheyenne River Youth Project (LakotaYouth.org)
Guided by traditional and spiritual principles, the Cheyenne River Youth Project® has incorporated the traditional Lakota values of generosity, spirituality, wisdom, respect, courage, honesty and patience into the development of its 2-acre, naturally grown, pesticide-free Winyan Toka Win (“Leading Lady” in the Lakota language) garden.


Darla Antoine, ICTMN


For our ancestors, community gardening was the ONLY form of gardening, but as the landscape of our territories have been whittled away, so has our sense of communal responsibility and communal effort to feed ourselves.

Bringing gardening back to our communities has a number of obvious and not-so-obvious benefits: first, it is a great way to give ourselves dignified access to culturally appropriate foods and it’s a wonderful way to pool resources and strengthen community bonds. That much should be obvious. But did you know that community gardening might also reduce crime rates? One community garden in Philadelphia transformed their neighborhood by revamping and cleaning up an empty lot to house a beautiful community garden. Their efforts had a ripple effect and soon everyone was looking after their property—and their neighbors’—with more care.

And that’s not all: Community gardening gives elders in the community a voice and a chance to share their knowledge while teaching our youth the importance of sustainability and being sovereign—inter-generational exposure of cultural traditions is vital to our communities! Community gardens may also help your community grow traditional foods in a traditional way—something we don’t get from the supermarket.

Spending time in a garden or green space can also help reduce seasonal allergies, stress and air pollution. If built to include a composting station it can also reduce the amount of garbage taken to the landfill every week. And if they are involved in the gardening process, kids (of all ages) are more likely to eat their vegetables.

With all of those benefits, what are you waiting for! Here is how you can start your own community garden in five easy steps:

1. Organize a Meeting

Where will the garden be (find a place with at least 6 hours of sunlight and access to water)? How much are dues? How many plots and what size? What should be planted? Who will be involved? Who will benefit? Is there the possibility of funding or sponsorships to help cover the costs?

2. Form Committees

Who will be in charge of securing funding or collecting dues? Who will buy the seeds? Who will construct the plots? Will there be youth activities or a youth garden? Who will organize the planting and harvesting? Or is it all up to the individual plot owners?

3. Make Rules and Post Them

Involve the community in making the garden rules and the community will follow the rules. When are dues? How will the money be used? Will there be regular meetings? Are individuals responsible for the tending and harvesting of their own plots or is the garden an entire community effort from beginning to end? Will tools be provided to share or is everyone responsible for their own needs? Will the garden be organic?

4. Prepare and Develop Site

Clean the site, create a design or arrangement for the plots, build the garden beds, build a tool shed, and build a compost center. You may want to plant ornamental shrubs around the parameter of the garden to help make the garden look beautiful. You may also have to consider deer fencing or other steps to keep animals out of the garden. Don’t forget to plan pathways in-between all of the plots! Pathways that are able to accommodate wheelbarrows are highly suggested.

What considerations for traditional farming and gardening practices do you need to make? Do you want to honor the ancestors in the design of the garden somehow?

5. Stay in Touch

One of the purposes of a community garden is to strengthen the ties that bond a community. Be sure to create a phone tree, email list and/or put up a bulletin board to help members stay in touch when they need to. Also consider planning monthly workshops aimed at teaching the community how to garden, weed, harvest and maintain pest control without the use of harmful pesticides and herbicides. You can also plan seasonal foraging expeditions for traditional foods– and don’t forget to plan a harvest festival!

Darla Antoine is an enrolled member of the Okanagan Indian Band in British Columbia and grew up in Eastern Washington State. For three years, she worked as a newspaper reporter in the Midwest, reporting on issues relevant to the Native and Hispanic communities, and most recently served as a producer for Native America Calling. In 2011, she moved to Costa Rica, where she currently lives with her husband and their infant son. She lives on an organic and sustainable farm in the “cloud forest”—the highlands of Costa Rica, 9,000 feet above sea level. Due to the high elevation, the conditions for farming and gardening are similar to that of the Pacific Northwest—cold and rainy for most of the year with a short growing season. Antoine has an herb garden, green house, a bee hive, cows, a goat, and two trout ponds stocked with hundreds of rainbow trout.


Read more at http://indiancountrytodaymedianetwork.com/2014/04/07/5-easy-steps-how-start-community-garden-154309

A working garden


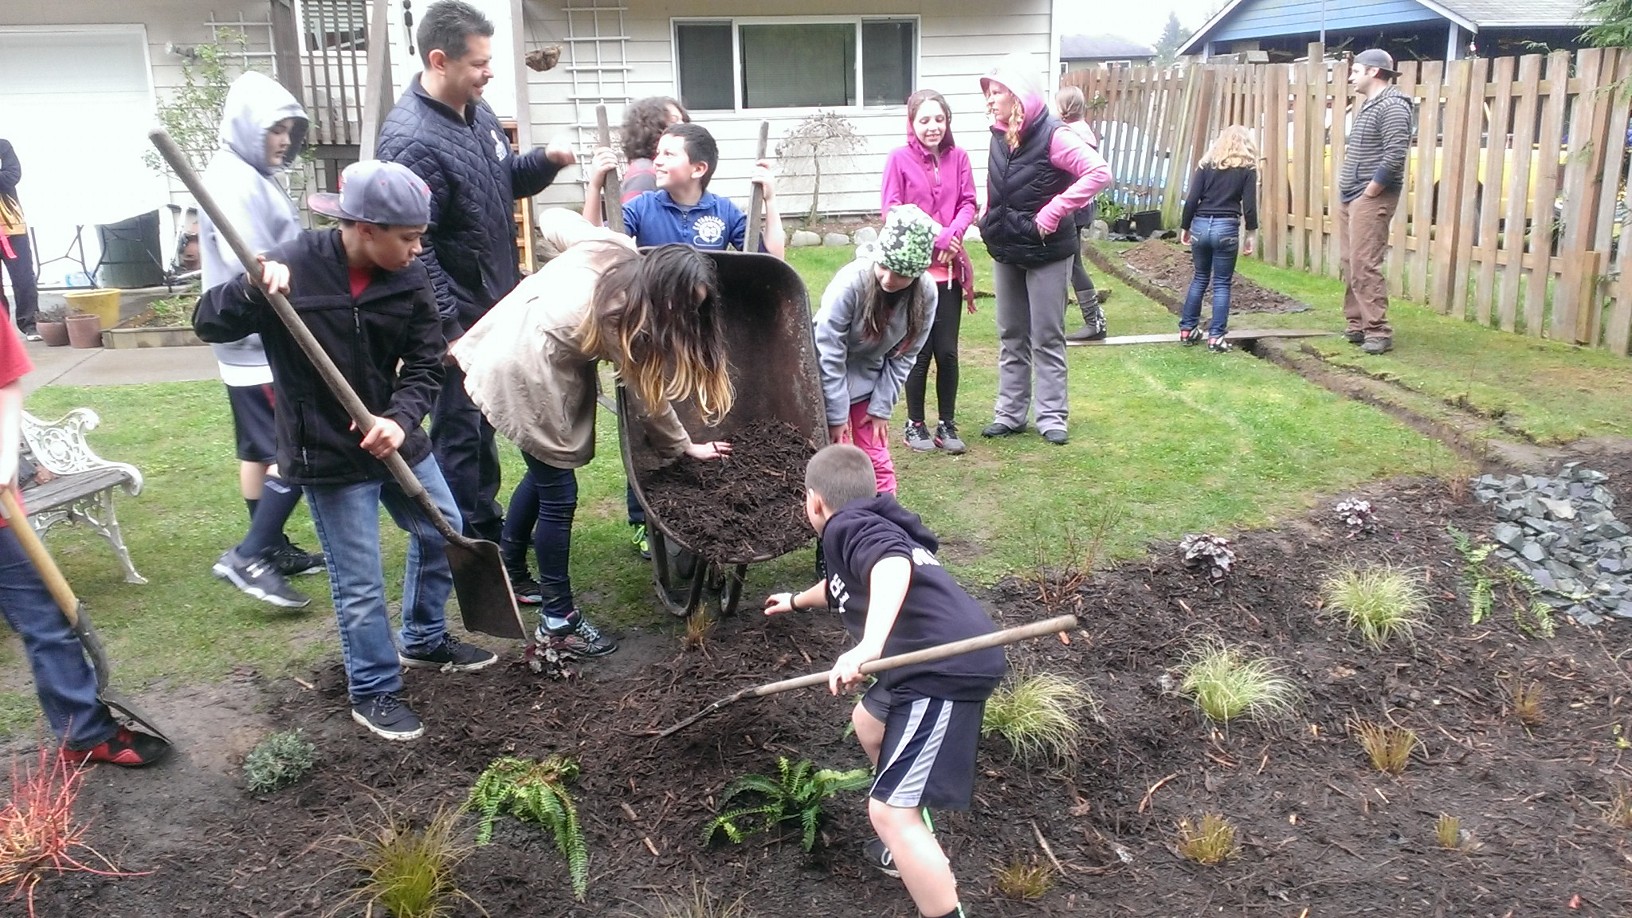
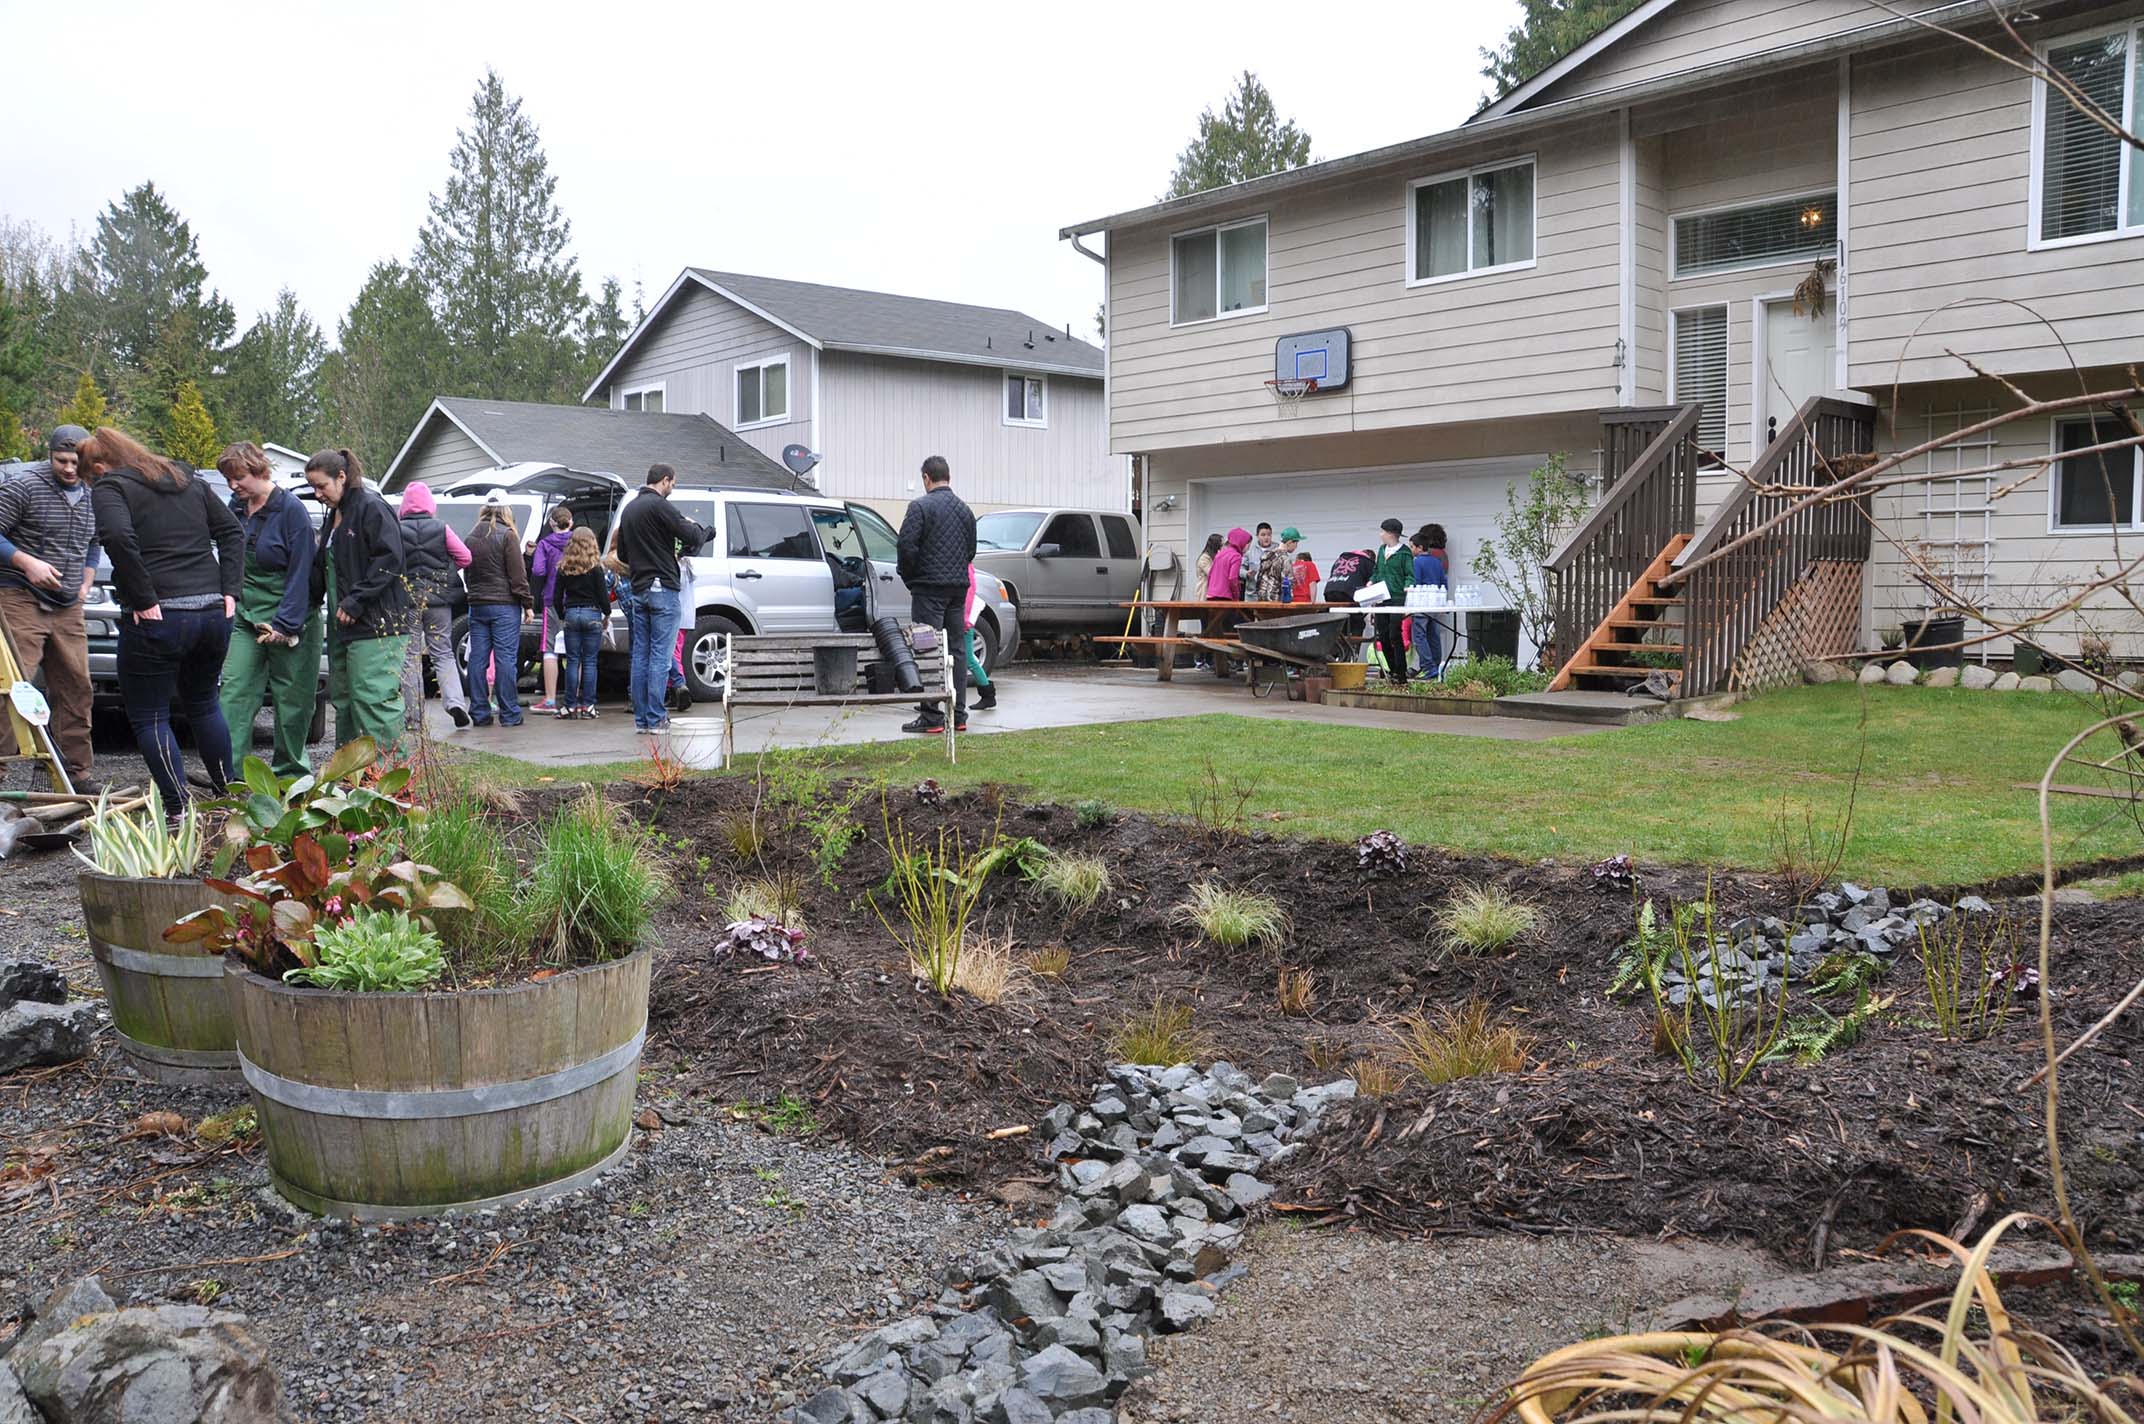
Marshall Elementary students were invited to come help plant in the new rain garden. Photo by Valerie Streeter

By Monica Brown Tulalip News

Tulalip, WA -Spring is here and it’s a prime season to put in a rain garden. Imagine your yard with a rain garden that is full of native plants attracting butterflies, hummingbirds and bees. Now envision that same rain garden being low maintenance and capable of preventing flooding or ponding of water in your yard and having the ability to capture pollutants before they reach the Puget Sound.

Rain Garden (2)
Photo by Monica Brown

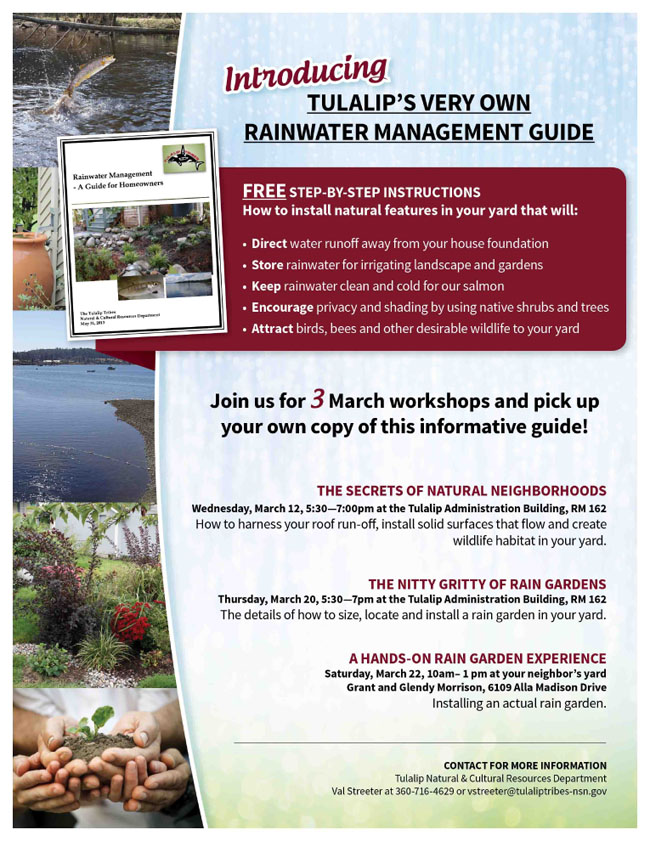
Recently, Tulalip Natural Resources hosted a three-part workshop, teaching about rain water management and finishing with an actual rain garden installation. Natural resources partnered with Tulalip tribal member Glendy and husband Grant Morrison to install a rain garden at their home creating a hands-on learning experience for the community and the Marshall Elementary Marysville Cooperative Education Partnership.

To begin, the Morrison’s had the utility lines in their yard located, estimated the rain garden size, and created a budget. Because the Morrison’s have a raised garden in their backyard they decided to harvest rain water from the back half of their roof into barrels for summer watering. Rain water from the front half will be routed to flow away from the home’s foundation and into the rain garden.

Photo by Monica Brown
Adding an overflow prevents the water from ponding after flask flooding.            Photo by Monica Brown

There are multiple ways to manage rain water run-off, but the more aesthetically pleasing and environmentally friendly option for homeowners is the addition of a rain garden. From now until 2016 the Puget Sound Rain Garden initiative wants to help install 12,000 rain gardens in the Puget Sound area. The website www.12000raingardens.org, is full of useful information, and local resources along with a place to register your rain garden as part of the initiative to keep the Puget Sound clean.

Tulalip Natural Resources staff is available to help anyone located on the Tulalip reservation with any questions about rain water management and has a free handbook available for pick up. Contact Valerie Streeter of Natural Resources with any questions or for a free Rain Garden Handbook, at 360-716-4629 or by email vstreeter@tulaliptribes-nsn.gov.

Pros of installing a rain garden

Rain Gardens are easy to maintain for years to come since they only require occasional weeding, watering and new mulch every year. If the garden contains native plants they will be easier to care for, cheaper to buy and some attract butterflies, hummingbirds and bees.

Cons of installing a rain garden

Planning and actual installation can take three or 4 weekends. The homeowner will need to create a budget, locate any utility lines on the property and perform a soil test for drainage before you begin. Afterwards, calculate the size and depth of garden for the surface runoff water.


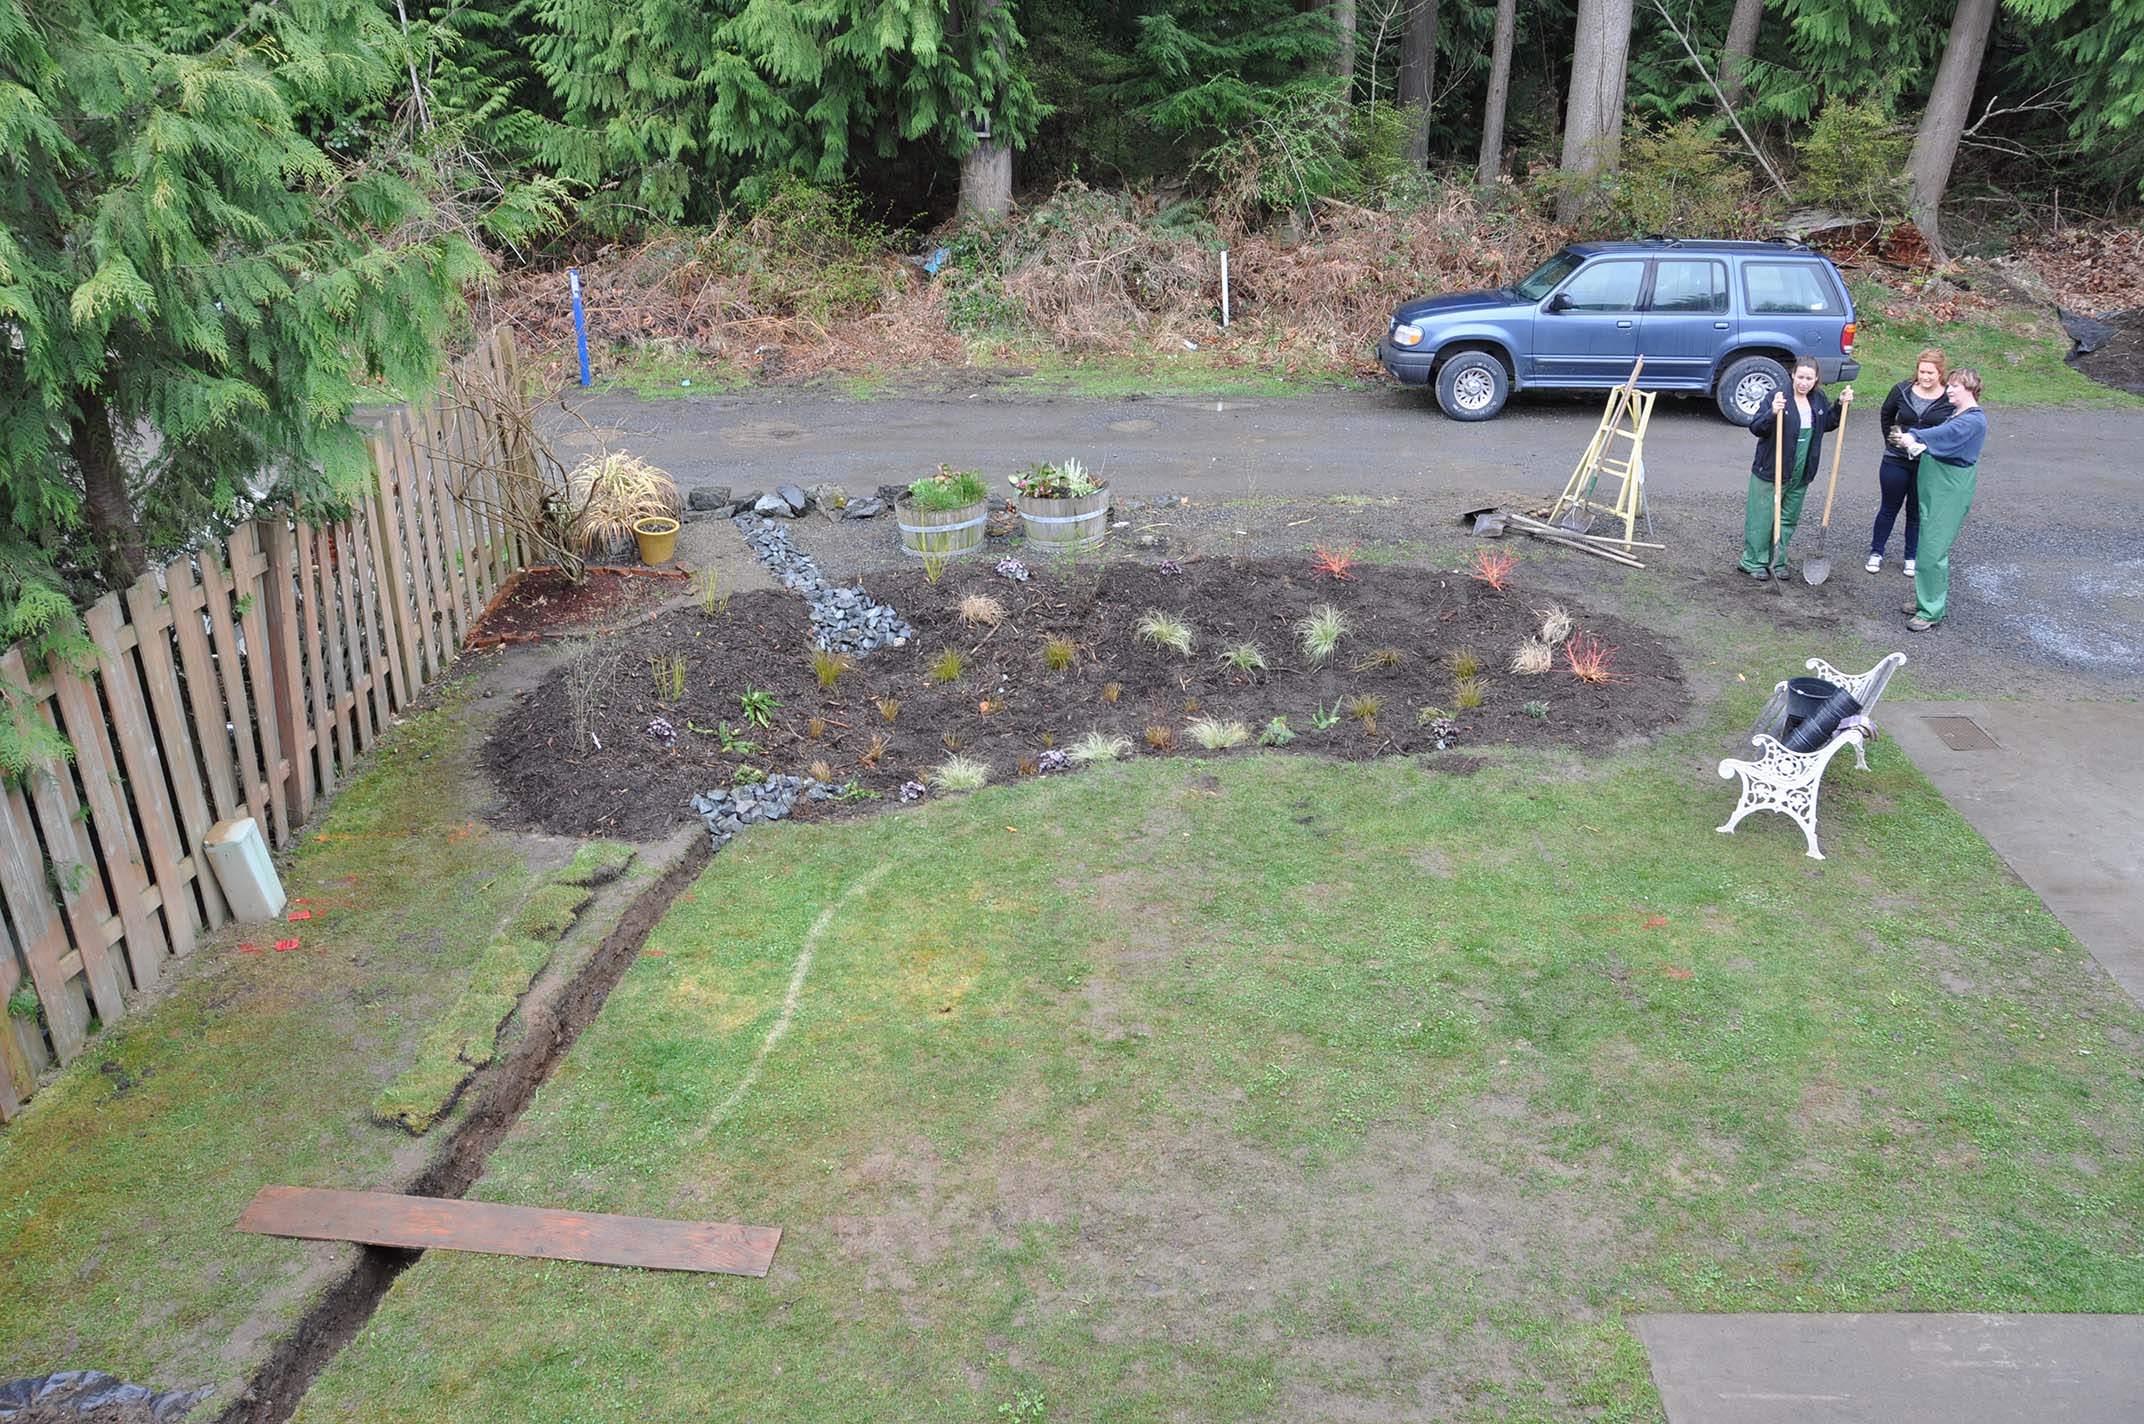
Aerial view of the rain gardenPhoto by Monica Brown
Aerial view of the rain garden
Photo by Monica Brown

Monica Brown mbrown@tulaliptribes-nsn.gov

Greenhouse gardeners begin transplanting crops to aid local food banks

Photo/ Richelle Taylor

by Brandi N. Montreuil, Tulalip News 

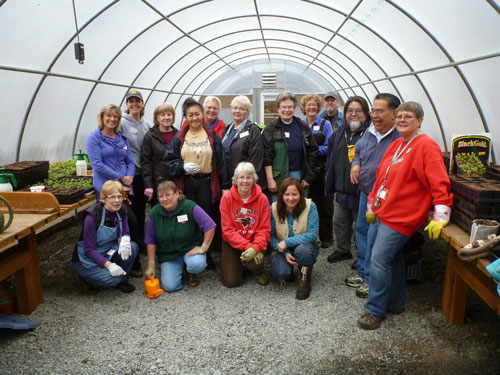
TULALIP – Gardeners in training took part in a transplanting extravaganza on Sunday, March 16, at the Hibulb Cultural Center.

A new partnership between the Tulalip Tribes and the Washington State University Snohomish County Master Gardeners Foundation is making it possible for participants to learn the nit and grit of greenhouse gardening.

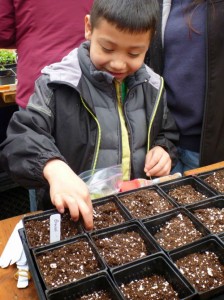
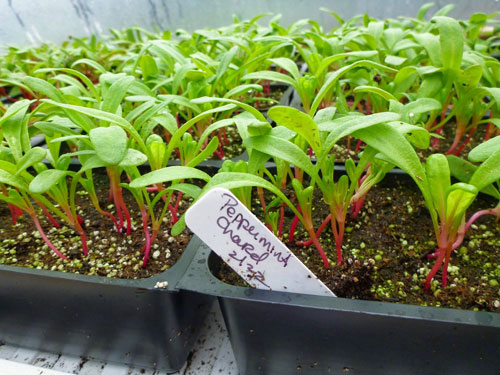
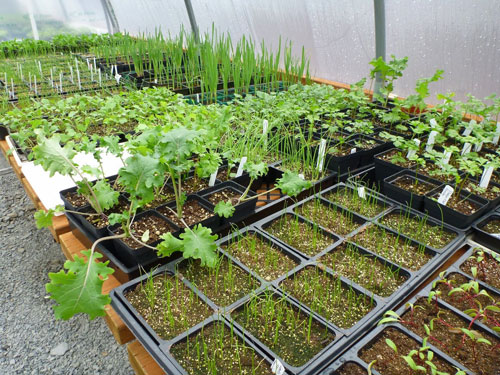
During Sunday’s event, 40 gardeners of all ages transplanted 75 flats of broccoli, kale, and chard seedlings into larger pots. These seedlings will be part of a crop grown to aid local food banks, such as Tulalip Food Bank, and other Snohomish County Master Gardener food bank gardens.

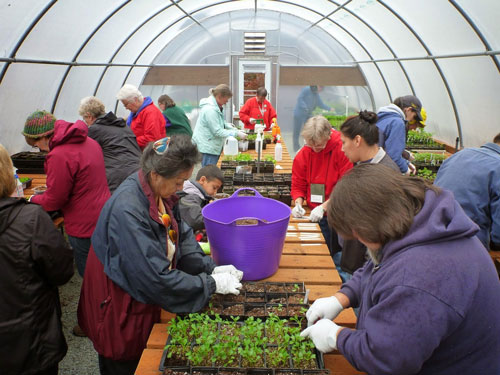
Tulalip tribal member Gisselo Andrade Jr., helps transplant broccoli that will be harvested for the Tulalip Food Bank during the Greenhouse Gardening class hosted by the Tulalip Tribes and Washington State University Snohomish County Master Gardeners Foundation on March 16, 2014. Photo/ Richelle Taylor
Tulalip tribal member Gisselo Andrade Jr., helps transplant broccoli that will be harvested for the Tulalip Food Bank during the Greenhouse Gardening class hosted by the Tulalip Tribes and Washington State University Snohomish County Master Gardeners Foundation on March 16, 2014.
Photo/ Richelle Taylor

“We all got to know each other more and shared our passion and enthusiasm for gardening,” said Veronica Leahy, Diabetes Educator at the Tulalip Karen I. Fryberg Health Clinic. The gardens began with the clinic’s diabetes management care and prevention education as the ‘Gardening Together as Families’ program. The program expanded through the Rediscovery Program at the Hibulb Cultural Center to incorporate traditional plants and traditional foods

“Even in the rain we were warm and comfortable inside the greenhouse, enjoying each other’s company,” said Leahy.

An additional class was held on Wednesday, March 19, that focused on proper transplanting, water, and sanitization techniques, along with how to seed and label plants, and protecting young plants as they grow.

For more information on ‘Gardening Together as Families’ program at the Hibulb Cultural Center, please contact Veronica Leahy at 360-716-5642 or vleahy@tulaliptribes-nsn.gov.


Brandi N. Montreuil: 360-913-5402; bmontreuil@tulaliptribes-nsn.gov


Photo/ Richelle Taylor


Seventy-five flats of broccoli, kale, and chard seedling were transplanted during the Greenhouse Gardening class hosted by the Tulalip Tribes and the Washington State University Snohomish County Master Gardeners Foundation on March 16, 2014 at the Hibulb Cultural Center. Photo/ Richelle Taylor
Seventy-five flats of broccoli, kale, and chard seedling were transplanted during the Greenhouse Gardening class hosted by the Tulalip Tribes and the Washington State University Snohomish County Master Gardeners Foundation on March 16, 2014 at the Hibulb Cultural Center.
Photo/ Richelle Taylor


The rain advantage

By Monica Brown, Tulalip News

TULALIP, WA. Living in the Pacific Northwest, there is one thing that is certain, it may rain today. Spring is here and with it comes the rain. The Tulalip area averages about 3” of rain every month during the spring. With summer around the corner, rain water management is on the minds of home owners that are thinking about improving the look of their yard. During the spring, rainwater runoff is inevitable, causing soil erosion and flooding. But there are useful ways to handle the runoff that are beneficial for the environment and your yard during the drier summer months.

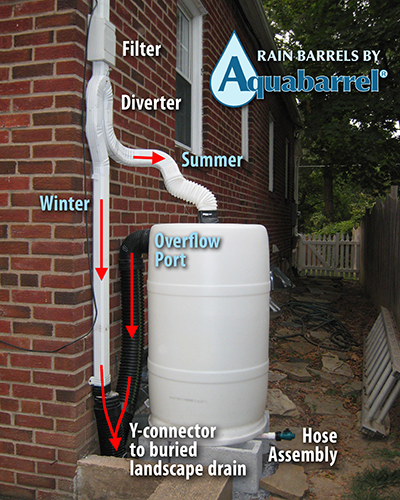
In your yard, prior to the construction of your house, rainwater was absorbed and filtered by the plants and trees eventually making its way back in the air through evaporation and transpiration or back down into the water table and eventually into the ocean. After construction, the surface of the house and driveway are impermeable and cause rainwater to runoff in concentrated places eroding the soil and washing pollutants into nearby streams, rivers, lakes and oceans.abpRB55_Labeled_400w

Two widely used methods for managing rainwater runoff, are to harvest it from the roof into barrels or to divert it into a rain garden. Harvesting rainwater is a more simple method that works by fixing a barrel to the gutter of the house to catch and store water to use on garden plants. Rain gardens require more work to install but are low maintenance in the long run.

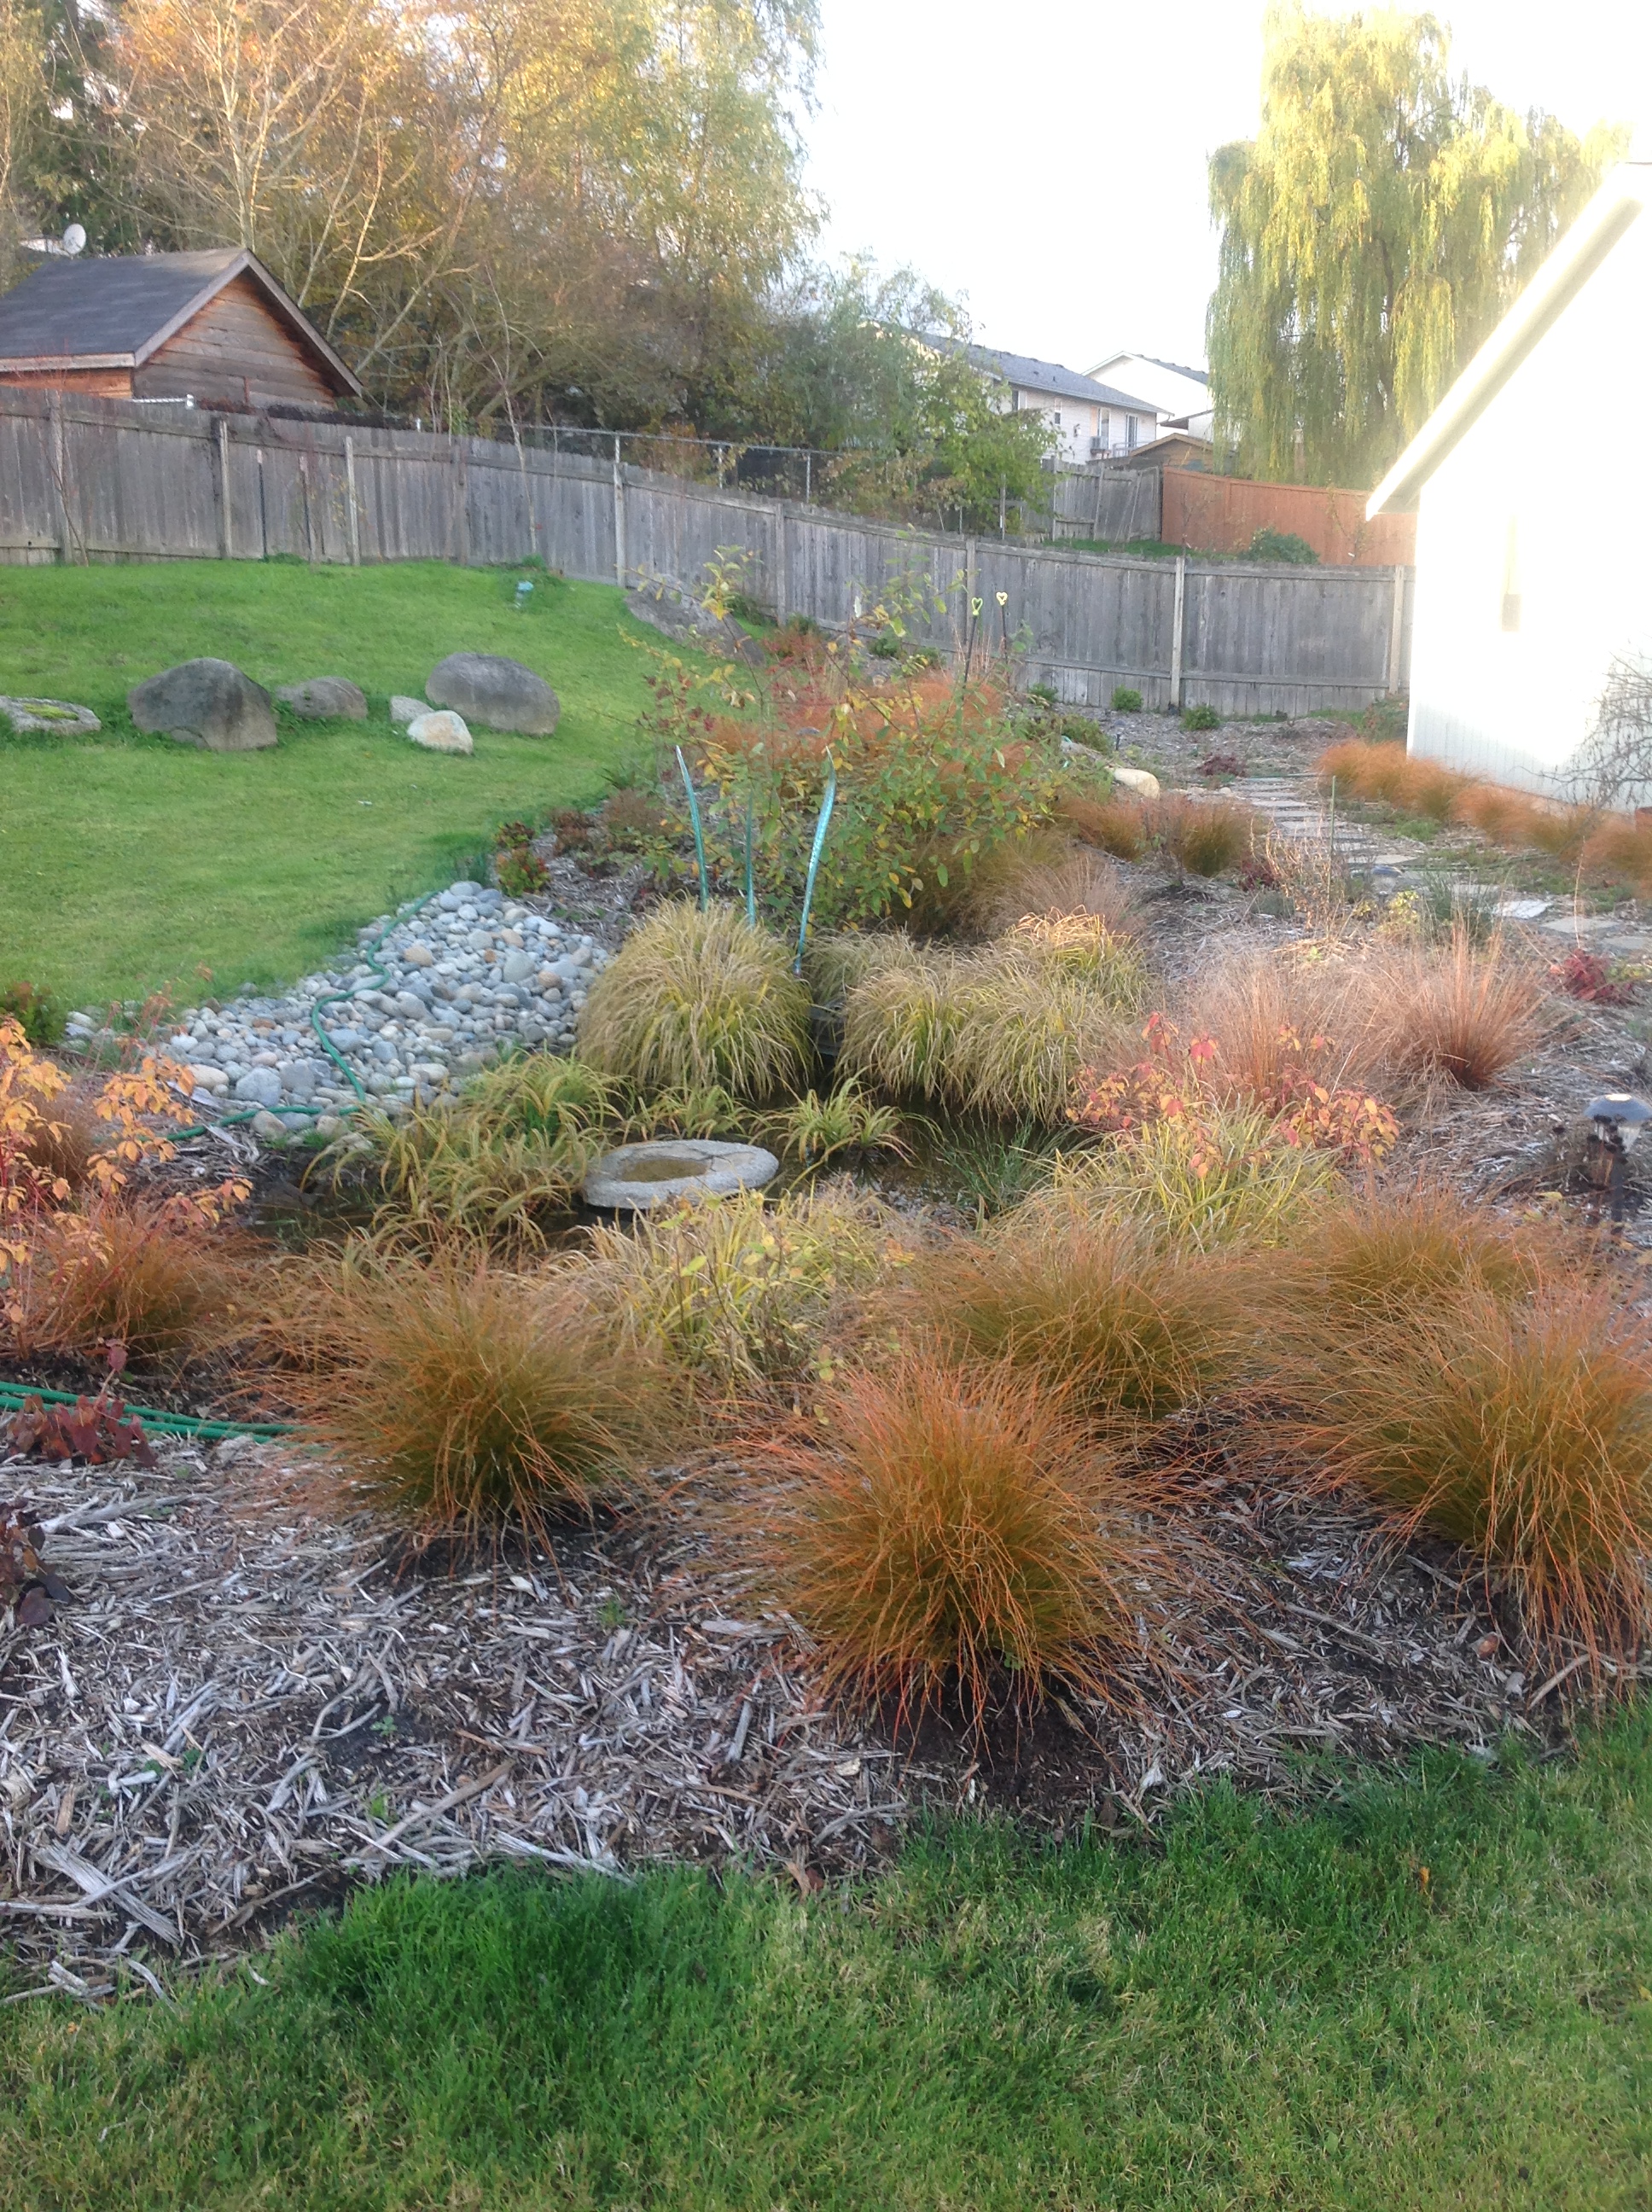
A good example of a rain garden can be found at the Tulalip administration building near the backside of the parking lot. The building’s rain gardens have been used to prevent erosion by catching the parking lot runoff and filtering out the pollutants as the water passes through the soil and natural vegetation.


10822013-11-13 15.18.22
Marysville rain garden registered with the Puget Sound rain garden initiative.

The Tulalip tribes have begun helping residents to find the most useful way they can to manage their stormwater runoff and are providing informational packets to all Tulalip residents. For more information about rainwater management in your yard and your options, contact Val Streeter in the Tulalip Tribes Natural and Cultural Resources department at 360-716-4629 or email vstreeter@tulaliptribes-nsn.gov

For those located off of the Tulalip reservation, the Puget Sound rain garden campaign is helping to install 12,000 rain gardens by 2016. The campaign offers in depth information about rain gardens, incentives in your area and local resources to help you get started. For more information about the Puget Sound rain garden campaign visit the website at http://www.12000raingardens.org/.


raingarden
“What makes it a rain garden is in how it gets its water and what happens to that water once it arrives in the garden.” Vienna, WV website article What is a Rain garden?


Rainwater management options

Driveway Infiltration trench controls stormwater from running off your property by collecting and infiltrate stormwater from your driveway until it soaks into the ground.

Dry well reduces erosion and ponding water by collecting runoff in an underground well structure that allows the water to leach back into the soil slowly.

Pervious walkways, driveways and patios made from material that allows water to seep through cracks while still providing a flat and stable surface.

Rain barrel  will reduce stormwater runoff and allows you to use captured water for lawns, gardens and indoor plants.

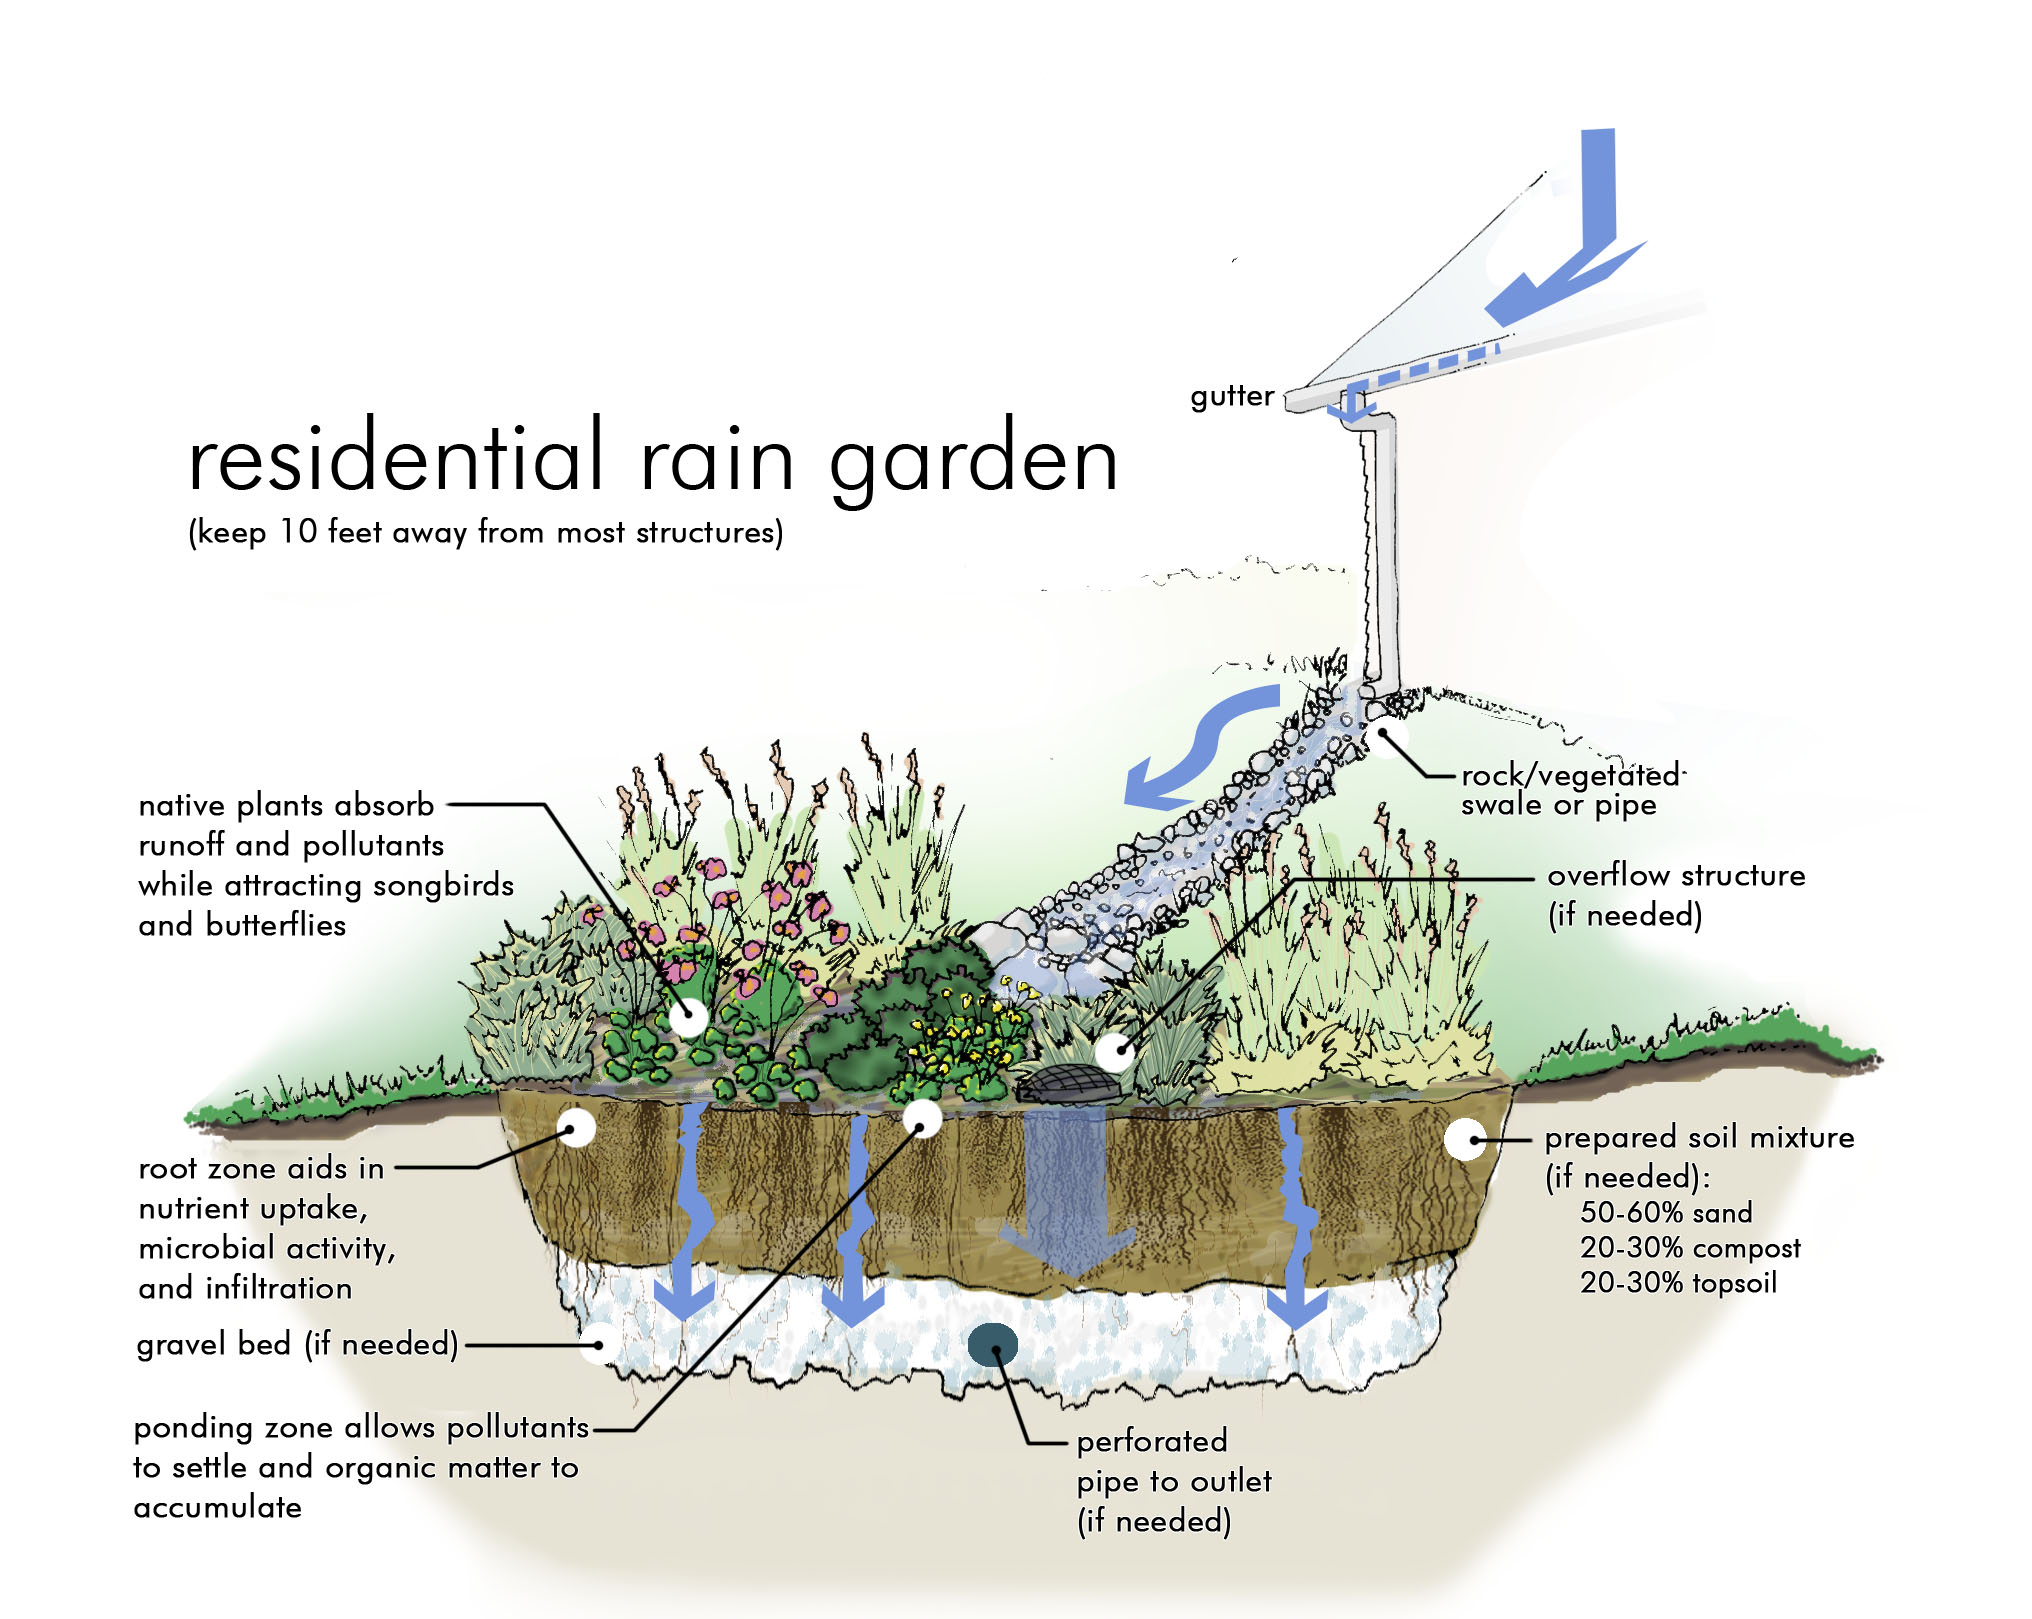
Rain garden reduces the amount of stormwater coming from you property and recharges your groundwater by capturing stormwater in a bowl-shaped garden that uses soil, mulch, and plants to absorb and treat stormwater before seeping back into the water table.

Vegetated Swale receives drainage from roads, sidewalks and driveways though a shallow channel that slows stormwater runoff and directs it to an area where it can infiltrate through plants that trap sediment and remove pollutants and prevent erosion.


Recipe: Native American Fry-Bread Taco

indian-taco

Source: The Gutsy Gourmet

Fry-bread is a native American all time favorite. It is the “Fry-Bread concessions that have the longest lines at the Pow Wows and Native American Dance and Drum Festivals. Fry-bread and especially fry bread Tacos will vary from tribe to tribe, band to band and family to family. Below is a recipe that is common to the Navajo and neighboring tribes.

INGREDIENTS: MAKES 2 – 4

INGREDIENTS FOR FRY-BREAD MAKES (4 ) “6 – 7″ or (2) 8″ INCH FRY BREADS

● 1 Cup(s) unbleached flour
● ½ Teaspoon(s) Salt
● 5 or more Cup(s) Warm Water
● 1 Tablespoon(s) powdered milk
● 1 ½ Teaspoon(s) baking powder (add another ½ Teaspoon for more rise)
● ½ Cup(s) water
● 2 Cup(s) Cooking Oil for frying

Makes 3-4 fry-bread depending on the size you make the bread.

INGREDIENTS TACO TOPPING Suggestions**SEE COOK’S NOTE**

● 1 lb. Ground Drained Hamburger
● 1 Packet Taco Seasoning or use your own recipe (cumin, garlic salt, New Mexico chili powder)
● 1 can Cooked Black Beans or Pinto Beans
● ½ cup corn kernels
● Chopped Tomatoes
● Shredded iceberg Lettuce
● Grated Cheddar Cheese, Monterey pepper Jack, or Mexican cheese.
● Salsa, your favorite blend, red or green, hot or mild (salsa verde goes well)
● Sour Cream

*COOKS NOTE*
Feel free to alter this recipe to your own tastes, especially the topping. Change the salsa, make it hotter or milder, use your favorite beans, use pork, chicken or fish for the meat. Add Jalapeños or Chipotlè or load it up with your favorite cheese.

DIRECTIONS FOR FRY-BREAD:

1. Put all the dry ingredients in a large bowl together and whisk them together thoroughly.

2. Pour the water over the dry ingredients and stir them together with a fork until the mixture starts to clump up. I used a whisk in the video and that’s OK! to start with but it gets messy when the clumping starts so I have elected to always use the fork in the future.

3. Now while the mixture is still in the bowl flour your hands.

4. Now use your hand or hands and begin rolling the dough or moving it about the bowl to pick up all the excess flour in the bowl to coat the outside of the dough. Don’t knead the dough. You want to form a ball that is well floured on the outside and still doughy on the inside. Kneading this dough will make the resulting product heavy and take away from it’s flexibility and chew. You want the inside of the dough sticky after the ball is formed.

5. Cut the dough into 4 equal pieces and using your freshly floured hands you can stretch and shape and press the dough into any shape you want. Navajo Taco’s do not have to been perfectly round as they are not a perfect dish. If you want to roll the dough into a ball and use a roller for uniformity that is fine too. Form your dough into 6 to 7 inch rough diameters.

6. Heat your oil in pan. You want a minimum of ½ inch of oil in the pan. The skillet should be 10 -12 inches in diameter. Heat to 375℉.

7. Take your formed dough, and cooking each fry-bread one at a time gently place the dough into the hot oil so you don’t get any splatter.

8. Press your dough down with the flat of your spatula to get the fry bread to submerge in the oil to get some of the hot oil on the top of the dough. You may want to do this a couple of time for each side of the fry-bread.

9. Fry each side until golden brown, 3 to 5 minutes per side. Make sure they are golden brown on the outside. They will be chewy on the inside.

10. The fry bread you make will stay warm in your oven while you make the filling. Do not heat in the microwave unless you know what you are doing, as this will make the fry-bread tough and impossible to eat.

11. Now this recipe will make 3 to 4 fry 6-7 inch fry-breads. This is for an open face taco. If you want to fold them like a usual taco, you will get two fry-breads about 8 inches in diameter from this recipe.

Recipe: Slow Cooked Three Sisters Chicken

Slow-Cooked-Three-Sisters-Chicken


Source: Native American Encyclopedia

Introduction

“The Three Sisters” are part of the traditional fare of Native Tribes in the American Southwest and Mexico. Corn, Beans, and Squash were mainstays because of their high nutrition and ease of storage — making them great for late autumn and winter cooking!

This recipe is sized for a MINI, 1 qt. crock pot. You’ll need to double it for a traditional crock pot.

Minutes to Prepare: 15
Minutes to Cook: 200
Number of Servings: 4

Ingredients

  • 4 skinless chicken thighs (bone in or boneless, either is fine)
  • 8 oz. cubed butternut squash (I suggest getting the pre-cubed kind!)
  • 1 cup great northern beans (if dry, soak them overnight before using them in this recipe)
  • 1/2 cup frozen corn kernels, thawed
  • 1/2 cup salsa
  • 3/4 cup chicken broth
  • 3 tsp. minced garlic
  • 1 tsp. each cumin, oregano, and chili powder
  • 1/4 tsp. each cinnamon and allspice
  • 1/2 tsp. habanero sauce, optional

Directions

Whisk the broth, salsa, garlic, and seasonings together in a small bowl. Set aside.

Place the beans in the bottom of the crock pot. Layer the chicken breasts on top, followed by the butternut squash. Pour the broth over all.

Cook in the slow cooker over low heat for 5 hours. When there’s just 30 minutes of cooking time left, add in the corn kernels and let them heat up.

This stew is great on its own, but feel free to serve with a nice salad and either cornbread or (even better!) fresh flatbread.

Makes 4 servings of one chicken thigh with 3/4 cup of stew.

P.S. Lots of people will want to replace the chicken thighs with breasts. DON’T DO IT! Chicken breasts have no fat or connective tissue, so they get really dry and chewy when cooked for 5 hours. Chicken thighs are loaded with collagen, which makes the meat fall-off-the-bone tender when slow cooked. Plus, they have way more iron than breasts!


Spring Nettle harvesting at Tulalip

Tulalip News Facebook, March 12, 2014

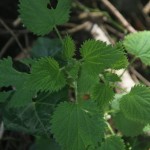
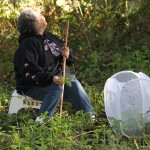
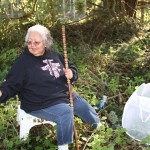
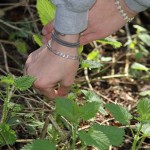
TULALIP, WA – Inez Bill, coordinator of Rediscovery programs at the Hibulb Cultural Center and Natural History Preserve, took a few helpers to harvest early spring Nettle on Bluff Road in Tulalip.

She was joined by Tulalip tribal members Derek Houle and Lauw-YA Spencer. Lauw-YA, a summer youth worker in the Rediscovery program in 2012, discovered she loves to be in the forest helping to gather cultural items.

Nettles are rich in vitamins A, C, iron, potassium, manganese, and calcium and Inez uses them in recipes such as the famous “Hibulb bread” and even in a Fettuccini pasta dish, using nettles which she calls “nesto” instead of pesto.

Spring is here

Indian Plum, also known as Oso Berry or Oemleria cerasiformis, is one of the first native plants to bloom each spring.

By Niki Cleary, Tulalip News

Although we’re hearing predictions of snow this weekend, if you look, there are signs of spring everywhere. Many people see cherry blossoms as one of the first signs, however, here at Tulalip we look for Indian Plum and other native plants. The above photo was taken in my back yard. Along with the lengthening day, these small bits of green tell us that spring is here.